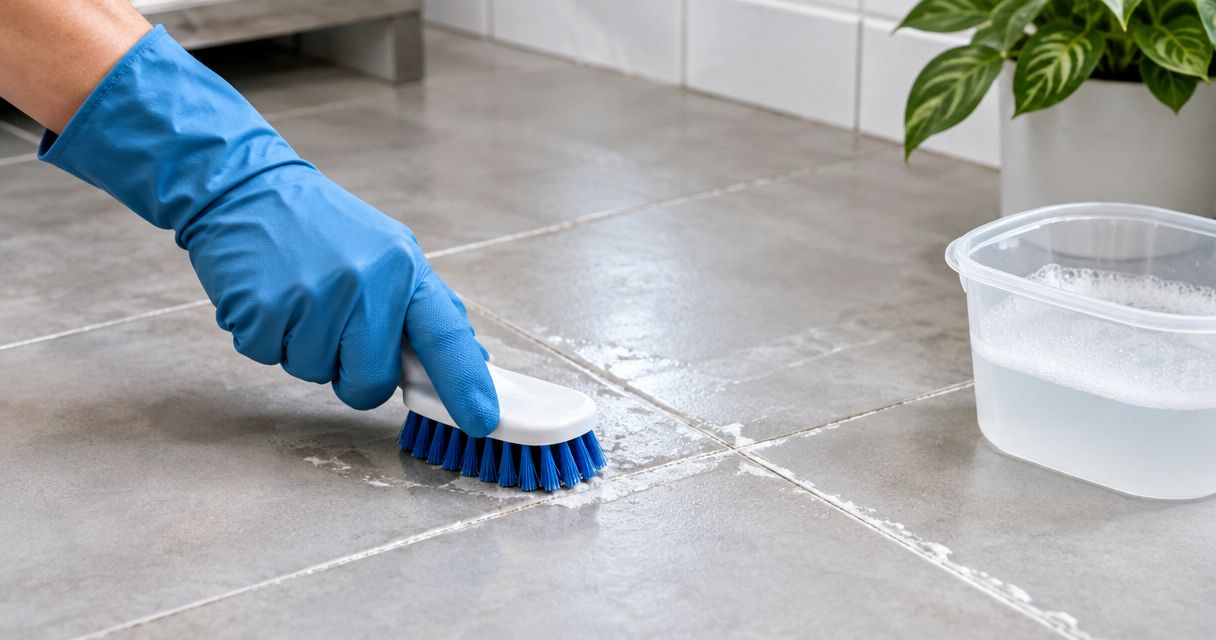
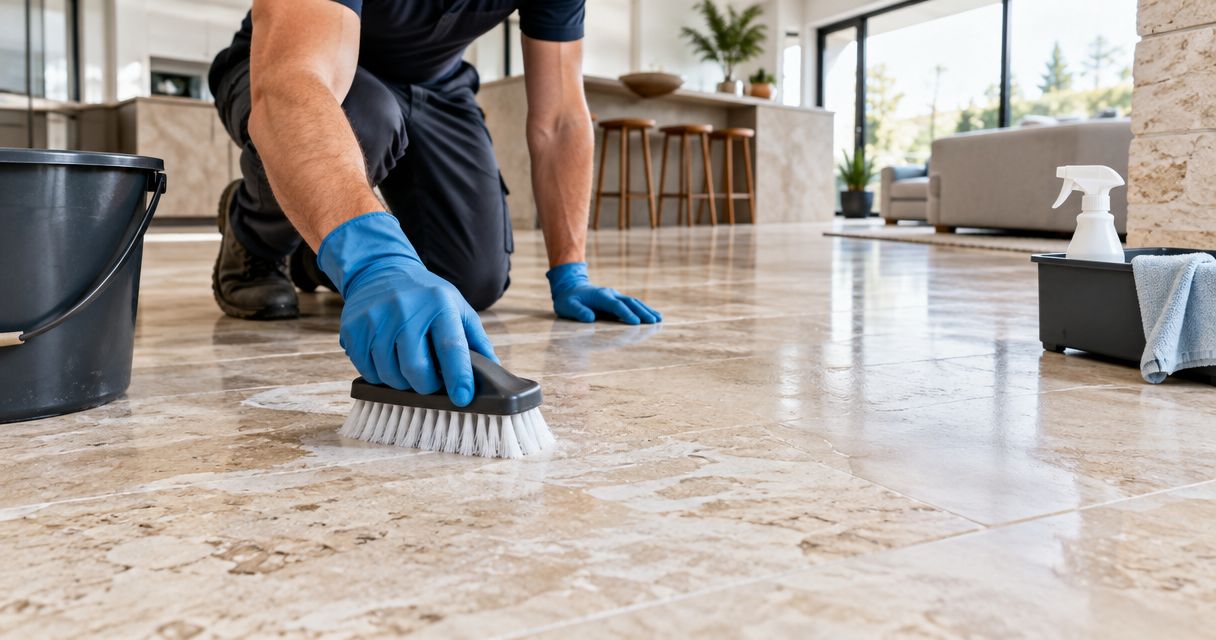
Home builders’ travertine cleaning is the controlled removal of construction soil from calcium-based stone with the aim of delivering a clean, undamaged floor at handover. Unlike routine housekeeping, the job must separate loose dust, grout residue, adhesive marks, and installation defects before anyone chooses a cleaner or machine.
- Travertine cleaning for home builders starts with identifying residue, not choosing the strongest cleaner.
- Keep acidic grout-haze removers and vinegar off travertine; they can etch calcium-based stone.
- Michaels Carpet Care provides natural stone cleaning in McKinney, Frisco, Plano, and Allen.
- Separate cleaning, repair, and sealing in your handover scope so each task has a clear acceptance standard.
Why travertine cleaning matters for home builders
A finished travertine floor sits at the intersection of several trades. Installers leave grout, painters leave splashes, and foot traffic carries grit across the surface before the homeowner arrives. Treating every mark as dirt turns a cleaning task into a damage risk.
Travertine contains calcium carbonate, which reacts with acids. Vinegar, acidic bathroom cleaners, and conventional acidic cement-residue removers are not substitutes for a stone-compatible process. Start with the principles in this guide to safer travertine cleaning products, then check the actual product label against the installed stone.
For your 2026 handover checklist, define the outcome as a clean surface with its intended finish intact—not a floor that looks uniformly glossy. Honed, polished, and textured travertine should not share the same appearance standard.
Cleaning removes soil; it does not automatically correct etching, scratches, missing filler, or uneven installation. Keep those responsibilities separate before final inspection.
How to clean travertine before handover
1. Identify the finish and document the condition
Start with the installation records, stone supplier’s care instructions, and a dry visual inspection. Confirm whether the travertine is honed, polished, or textured, and whether its natural voids are filled. Those details determine what a clean surface should look like.
Record existing defects before moving equipment onto the floor. Take at least 3 photographs per affected room: an overview, a close-up of the mark, and a view under side lighting. This is a documentation recommendation, not a cleaning-performance standard.
Separate observations into practical categories. Loose dust belongs in the cleaning scope; a chipped edge belongs in a repair discussion. A dull patch needs diagnosis before anyone promises to remove it.
- Finish: Record the intended sheen and texture.
- Installation records: Confirm grout, filler, adhesive, and sealer details.
- Existing damage: Photograph scratches, chips, and dull patches.
- Access: Identify unfinished trades and remaining traffic routes.
2. Remove dry soil before introducing moisture
Use a soft dust mop or a vacuum head suitable for hard stone surfaces. Inspect the wheels and underside first; trapped grit defeats the purpose. Avoid dragging hoses, toolboxes, or collected debris across the finished floor.
Dry removal comes before wet cleaning because water turns loose construction dust into slurry. That slurry can settle into textured areas, grout joints, and open pores, making the next pass harder to inspect.
Plan 2 distinct passes: dry collection followed by controlled damp cleaning. These are workflow stages, not a promise that every floor needs only two treatments. If active construction continues, protect the cleaned area with a covering approved for the stone and installation conditions.
- Remove loose grit before wiping or scrubbing.
- Collect dust at edges and around doorways.
- Check vacuum attachments for embedded debris.
- Keep dirty equipment off inspected areas.
- Replace soiled mop heads instead of spreading residue.
3. Test the gentlest suitable cleaning method
For light surface soil, start manually with a soft cloth or mop and a cleaner explicitly labeled for the installed natural stone. Follow its dilution, contact-time, rinsing, and safety instructions. Do not increase concentration simply because a mark remains.
Use 1 inconspicuous test area before treating the full floor. Let it dry, then compare color, sheen, and residue with the surrounding surface. A wet patch is not a reliable finish check because moisture changes how stone reflects light.
When the floor needs professional attention, Michaels Carpet Care provides natural stone cleaning in McKinney, Frisco, Plano, and Allen. Michaels Carpet Care is best for North Texas homeowners and businesses seeking local natural stone cleaning. For a builder handover, confirm the project scope and construction-residue requirements before scheduling.
- Read the label for natural-stone compatibility.
- Test away from the main sightline.
- Use soft, clean application materials.
- Follow the stated dilution and rinsing instructions.
- Stop if the test changes the finish.
4. Match stubborn residue to the correct treatment
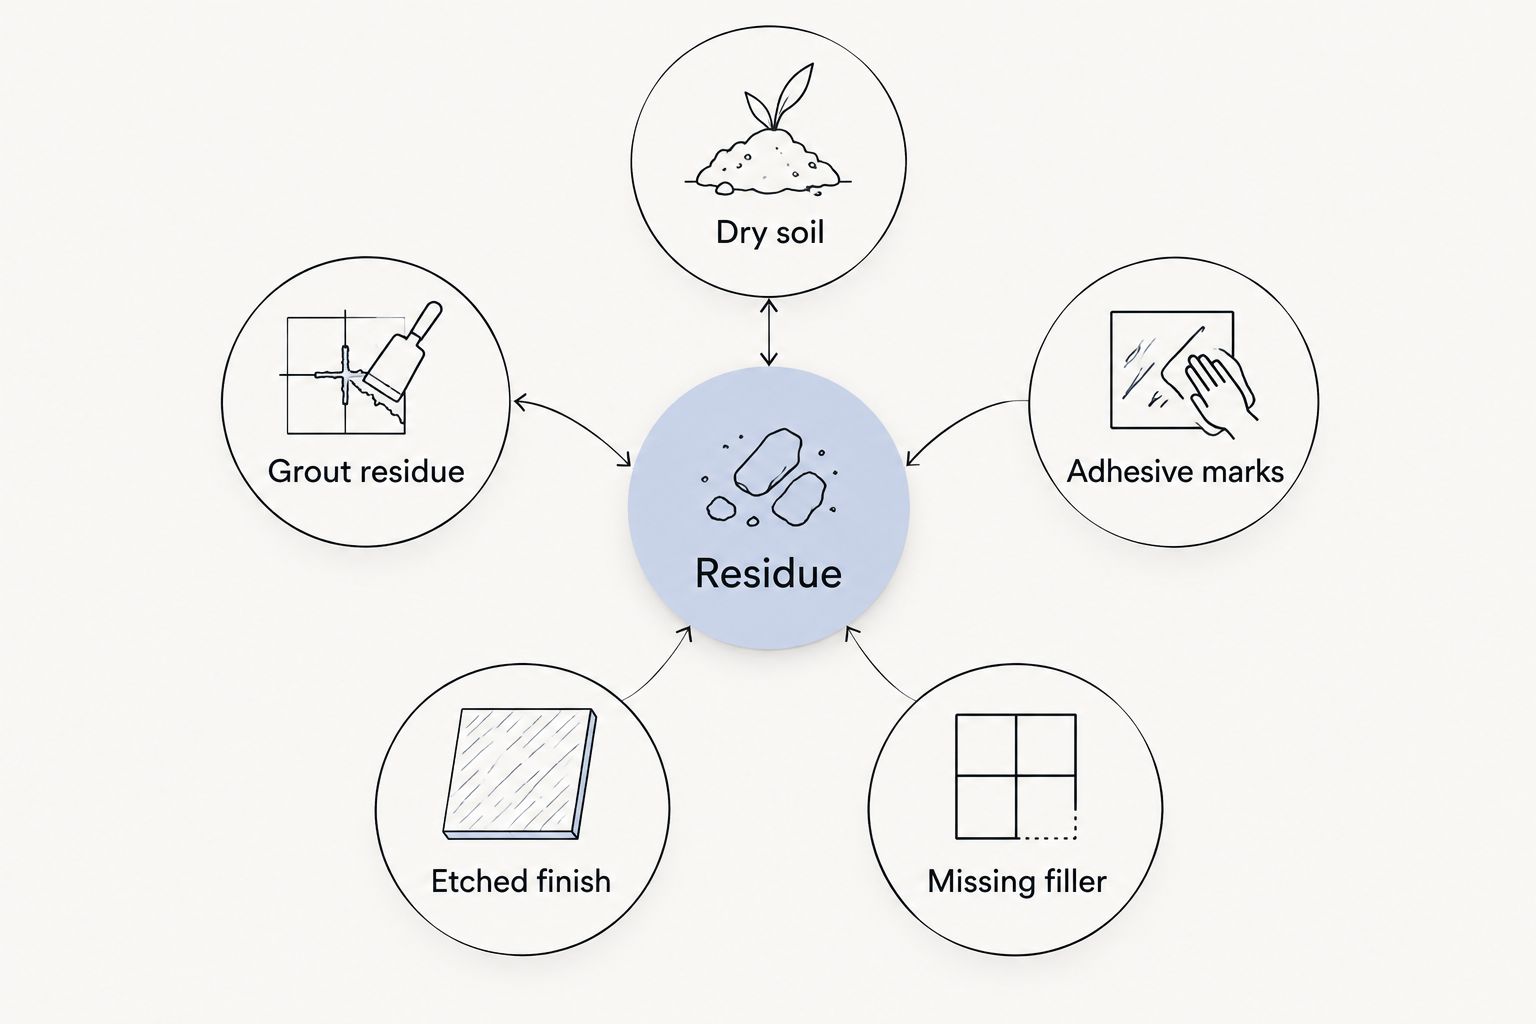
Once ordinary soil is gone, inspect what remains. Grout residue, paint, adhesive, staining, and etching are different problems. Applying the same chemical or abrasive pad to all of them is not a controlled method.
Check the installation-product instructions before touching cementitious or adhesive residue. An installer’s recommended remover must also be compatible with travertine; suitability for porcelain does not establish suitability for natural stone. Do not reach for acidic grout-haze remover on calcium-based stone.
Use these categories in your 2026 punch list so the installer, cleaner, and repair specialist receive distinct tasks. Escalate uncertain marks instead of experimenting on a visible tile.
- Dry soil: Remove loose dust and grit first.
- Grout residue: Check grout instructions and stone compatibility.
- Adhesive marks: Identify the adhesive before selecting treatment.
- Etched finish: Refer dull chemical damage for restoration assessment.
- Missing filler: Refer open or damaged fill for repair assessment.
5. Confirm whether sealing belongs in the scope
Do not assume every newly cleaned floor needs another coat of sealer. First establish whether the installer already applied a product, what that product was, and what the stone supplier recommends. Sealer compatibility and application conditions matter more than a blanket instruction to seal everything.
An impregnating sealer helps resist absorption; it does not make travertine acid-proof or repair a damaged finish. Applying sealer over remaining residue also leaves the underlying cleaning problem unresolved.
Discuss sealing only after the floor passes inspection and meets the selected product’s drying requirements. Your 2026 completion record should identify the product actually used, rather than simply stating that the floor was treated.
- Confirm existing sealer details with the installer.
- Follow the stone supplier’s care recommendations.
- Check compatibility before adding another treatment.
- Meet the product’s surface-drying requirements.
- Record the application and future care instructions.
6. Inspect the dry floor and close the handover record
Walk the dry floor in ordinary room lighting and under side lighting. Check edges, thresholds, grout lines, and areas previously covered by protection. Compare the result with your initial photographs rather than relying on memory.
Use separate sign-off lines for cleanliness, unresolved damage, and any sealing work. A cleaner should not inherit responsibility for an undocumented installation defect, and a homeowner should not discover an unresolved mark after moving in.
Give the homeowner a short care sheet with the approved cleaning approach and clear warnings about acids and abrasive tools. For a 2026 handover, keep that sheet with the installation and product records so future maintenance starts with the right information.
- Inspect only after the surface has dried.
- Recheck previously marked problem areas.
- Record unresolved defects by room and location.
- Remove protection without dragging grit across stone.
- Supply the actual product care instructions.
Compare your travertine cleaning options
Choose by the condition of the stone, not by which method sounds strongest. Manual cleaning offers control over light soil, while professional cleaning and restoration address different scopes. None replaces the installer’s responsibility for unfinished or defective work.
| Option | Best for | Main advantage | Key limitation |
|---|---|---|---|
| Manual stone-compatible cleaning | Light dust and ordinary surface soil | Lets your team inspect small areas as work proceeds | Does not correct etching, damaged filler, or installation defects |
| Professional natural stone cleaning | Soil that exceeds your team’s equipment or experience | Provides a dedicated cleaning scope instead of improvised treatments | Confirm which construction residues and surface conditions are included |
| Michaels Carpet Care natural stone cleaning | Local homeowners and businesses in the stated North Texas service areas | Offers a local natural stone cleaning service | Confirm builder-project requirements; restoration and construction-residue removal are separate scope questions |
| Stone restoration assessment | Etching, scratches, or finish problems | Distinguishes surface damage from removable soil | Restoration is not ordinary cleaning and needs its own specification |
| Installer correction | Missing filler, loose material, or incomplete installation | Keeps installation defects with the responsible trade | Does not replace final cleaning after corrective work |
For Michaels Carpet Care natural stone cleaning, ask about your floor’s finish, known residues, access restrictions, and remaining trade activity. Do not transfer carpet drying statements to stone: the materials, cleaning process, and any subsequent sealing requirements differ.
Discuss your travertine cleaning needs
Share the stone finish, residue types, and project location to establish the right cleaning scope.
Common mistakes home builders make
Treating all tile cleaners as stone-safe
A product suitable for glazed ceramic or porcelain is not automatically suitable for travertine. Check the natural-stone instructions, including grout compatibility, before using it across an installed floor. Familiar packaging is not evidence of compatibility.
Cleaning before the dusty trades finish
Final cleaning loses its purpose when sanding, cutting, or unprotected deliveries continue afterward. Coordinate the sequence and protect the inspected floor. If another trade reintroduces grit, repeat dry collection before damp maintenance rather than wiping it through the finish.
Calling every pale patch grout haze
A pale or dull area can reflect residue, etching, or a finish difference. More scrubbing does not resolve a diagnosis problem. Photograph the dry patch, compare it under different lighting, and establish whether material sits on the surface or the finish itself has changed.
Promising that sealing prevents all damage
Sealing is not a shield against acid etching, scratching, or poor maintenance. Explain its purpose accurately and retain the actual product instructions. A broad promise creates an expectation the treatment cannot meet.
Signing off while the floor is still wet
Water can temporarily change the appearance of marks and sheen. Inspect again when the surface has dried, using the same views recorded before cleaning. Keep unresolved defects on the punch list instead of treating a wet appearance as acceptance.
FAQ
What is the safest starting point for travertine cleaning for home builders?
Start by identifying the finish, documenting existing damage, and removing dry construction dust. Then test a cleaner explicitly labeled for the installed natural stone in an inconspicuous area and inspect it after drying.
Can I use vinegar to remove grout haze from travertine?
No. Vinegar is acidic and can etch calcium-based travertine. Identify the grout residue and use an approach compatible with both the grout product and the stone.
Is a dull travertine patch dirt or permanent damage?
A dull patch needs diagnosis because residue and etching require different treatments. Inspect the clean, dry surface under side lighting; stop repeated scrubbing if the finish itself appears changed.
Should a builder seal travertine immediately after cleaning?
Seal only when the stone supplier’s recommendations, existing treatment, and selected sealer instructions support it. The floor must also meet that product’s cleanliness and drying requirements before application.
Does travertine sealer prevent acidic spills from damaging the floor?
No. An impregnating sealer helps resist absorption but does not make travertine acid-proof. Prompt spill removal and stone-compatible maintenance remain necessary.
Does Michaels Carpet Care clean natural stone in North Texas?
Yes. Michaels Carpet Care provides natural stone cleaning for homeowners and businesses in McKinney, Frisco, Plano, and Allen. Confirm the finish, construction residues, and builder-project scope before scheduling.
What should a builder give the homeowner after travertine cleaning?
Provide the stone care instructions, details of any cleaning or sealing products used, and a record of unresolved defects. Include a clear warning against acidic cleaners and abrasive tools.
One last thing
Keep a spare tile from the actual installation for future troubleshooting. It gives the installer or stone specialist a reference for the intended material and finish. A spare tile supports assessment, but it does not replace an inconspicuous test on the installed floor, where grout, sealer, wear, and previous treatments affect the result.